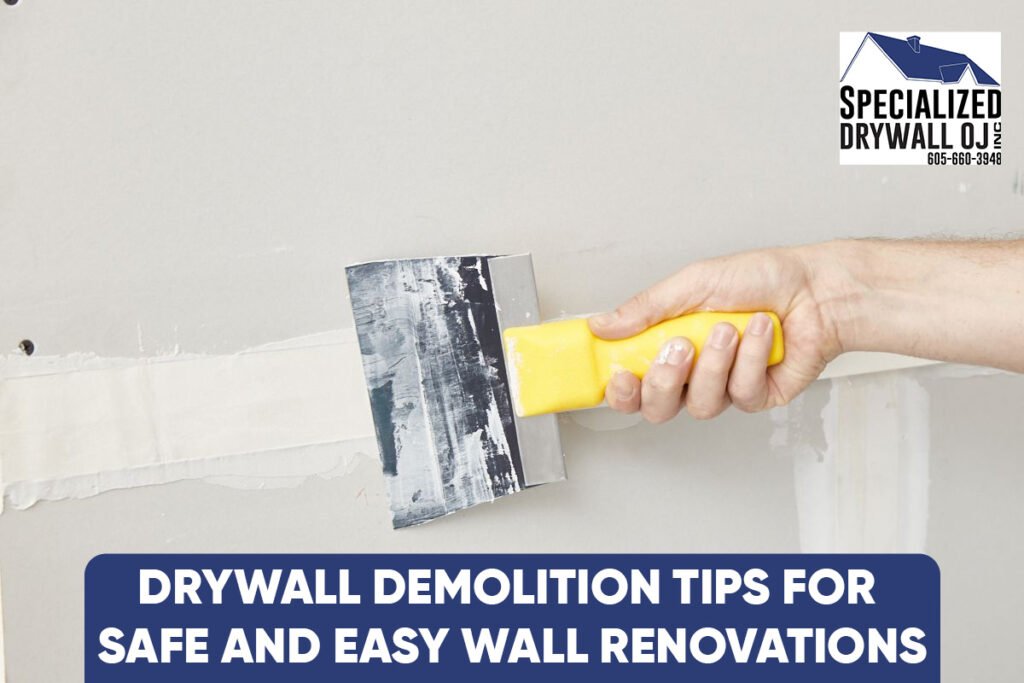
Whether you’re tearing down a single wall to open up a space or revamping an entire room, drywall demolition is a crucial part of the renovation process. Done right, it can be quick and efficient. Done wrong? You risk damaging wiring, plumbing, or even injuring yourself.
The good news is that drywall removal isn’t rocket science. With a little prep work, the right drywall demolition tools, and some safety know-how, anyone can handle this task with confidence. And if things get too messy or complicated, professional drywall demolition teams are always just a call away.
This step-by-step guide covers how to remove drywall safely and efficiently—plus smart tips, common pitfalls, and when to bring in the pros. Let’s break it down (literally).
Know When It’s Time to Demo
Not every project needs a complete teardown. Before grabbing a sledgehammer, evaluate whether full drywall removal is truly necessary. Are you updating wiring or plumbing? Dealing with water damage or mold? Planning to move or eliminate a wall?
If you’re just repairing minor dents or cracks, a patch job may be enough. But when major renovations are on the table—or the drywall is beyond saving—it’s time to demo.
When in doubt, contact drywall demolition contractors to assess the condition and determine the best course of action. Experts like Specialized Drywall OJ Inc offer both evaluations and removal services to get your job started the right way.
Gather the Right Tools for the Job
Before you jump in, having the proper drywall demolition tools is essential for a smooth and safe process. Here’s what you’ll need:
- Utility knife
- Pry bar or crowbar
- Hammer
- Drywall saw
- Screwdriver or drill
- Safety goggles
- Dust mask or respirator
- Work gloves
- Tarp or drop cloths
- Shop vac or broom for cleanup.
Optional but helpful: a stud finder and voltage tester (more on those soon). Having everything prepped ensures you’re not scrambling mid-project.
Prep the Area Like a Pro
Demolition is messy—no sugarcoating it. That’s why setting up the space beforehand is a must. First, remove any furniture or cover it with a plastic sheet. Shut off electricity to the area, especially if you’re working near outlets or switches.
Use a voltage tester to confirm wires are dead before making cuts. Then, lay down drop cloths or tarps to catch falling debris. Tape off adjacent rooms to minimize dust migration.
A little prep time up front can save hours of cleaning and prevent costly mistakes. For bigger spaces, drywall demolition services can also bring dust containment systems for a cleaner job.
Score and Section the Drywall
Now it’s time to get hands-on. Start by scoring the drywall surface with a utility knife to create manageable sections—typically 2×2 or 3×3 feet. Smaller panels are easier to control and remove without damaging internal framing or insulation.
Once scored, use a hammer or drywall saw to punch a starting hole, then pull away the sheet in chunks. Pry around nails or screws if needed. Be careful around electrical boxes and plumbing lines.
This is a slow and steady process. Avoid brute force, and always remove one section at a time.
Watch for Wires and Pipes
This is where many DIYers get into trouble. Behind your drywall is a hidden world of wires, water lines, and HVAC components. One wrong swing could cause serious damage or danger.
Use a stud finder or cut exploratory holes to locate wires or pipes before going all-in. Never assume a wall is empty.
If your renovation involves complex systems (like recessed lighting or moving plumbing), consult with drywall demolition contractors to coordinate safe removal. Local pros like Specialized Drywall OJ Inc can demo around sensitive areas while preserving infrastructure.
Proper Disposal Is Key
Once the wall is down, what do you do with the pile of drywall? Proper disposal is often overlooked, but legally and environmentally important.
Most residential waste management services won’t accept bulk drywall in regular curbside pickup. You’ll need to:
- Rent a dumpster
- Use construction debris bags.
- Haul to a designated waste facility
Be sure to sweep and vacuum leftover dust and particles to avoid respiratory issues. If you’re unsure where to take your debris, search “drywall removal near me” for local disposal options or hire a contractor who handles it for you.
When to Call the Pros
DIY is empowering, but some projects are best left to professionals. If your wall contains lead paint, asbestos, or mold—or if you’re tackling load-bearing walls—don’t risk it.
Hiring professional drywall demolition services ensures safety, compliance, and speed. You’ll also gain peace of mind knowing the job is done with expert oversight.
Check out this helpful guide on wallboard panel understanding to learn how different materials affect demo strategies.
Final Thoughts: Demolition Doesn’t Have to Be Destruction
Drywall demolition doesn’t have to be intimidating or destructive. With the right tools, proper prep, and safety smarts, it can be a surprisingly satisfying part of your renovation journey.
Whether you’re opening up space, replacing damaged walls, or upgrading an entire room, follow the steps above to make the process clean, safe, and efficient. And if things get too complex or you’re working with tricky layouts, calling in drywall demolition contractors like Specialized Drywall OJ Inc ensures a job done right—no surprises, no stress.
FAQs: Drywall Demolition Questions Answered
Q1: How long does drywall demolition take?
A: For a standard 10×12 room, demolition typically takes 2–4 hours, depending on layers, obstructions, and preparation.
Q2: Is drywall dust harmful?
A: Yes. Drywall dust can irritate the lungs and eyes. Always wear a dust mask or respirator during demolition.
Q3: What’s the safest way to remove drywall?
A: Turn off the power, score the drywall, remove small sections at a time, and stay cautious around wiring and pipes.
Q4: Can I reuse drywall after removal?
A: Usually not. Drywall is brittle and difficult to reattach without crumbling. Recycle or dispose of it properly instead.
Q5: How much does professional drywall demolition cost?
A: Costs vary by square footage and complexity, ranging from $1 to $2.50 per square foot. Contact local pros for quotes.