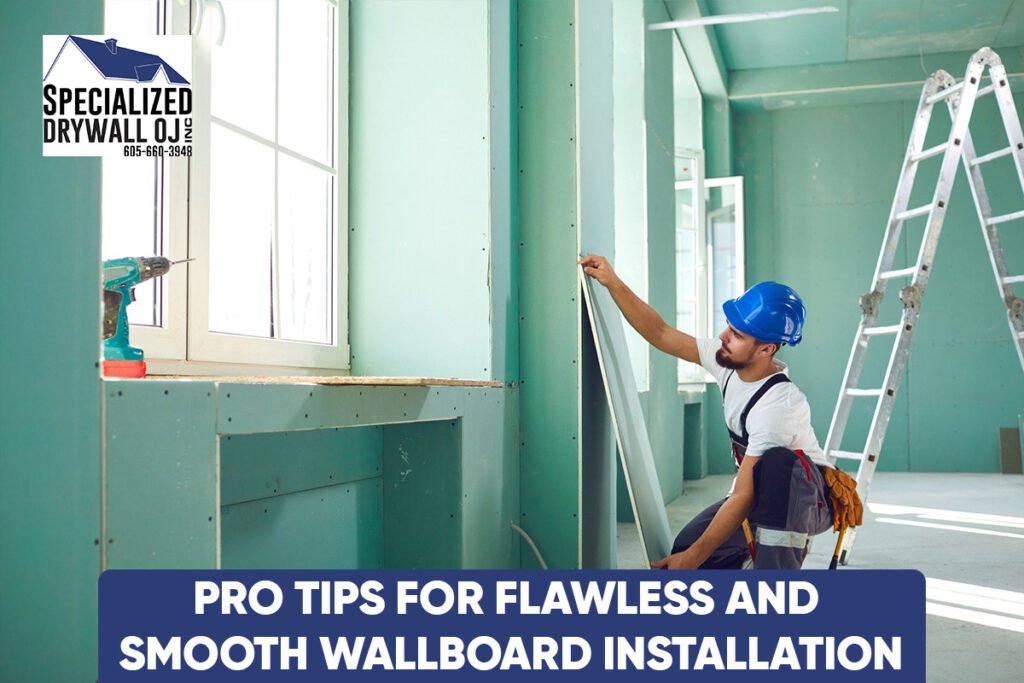
Transforming a space with fresh wallboards can be incredibly satisfying—if you do it right. Proper wallboard installation makes all the difference, whether aiming for a sleek, modern finish or a warm, textured look. The trick? It’s not just about hanging panels; it’s about preparation, precise measurements, and polished finishing. If you’ve ever wondered how to install wallboard like a pro, this guide walks you through the essentials, sprinkled with insider tips for a flawless and smooth result.
From wallboard cutting and measuring to choosing the right adhesive and tools, we’ll cover every step with practical advice. These techniques work for homeowners tackling a weekend project and professionals who want to refine their craft. By the end, you’ll know exactly how to prep, fit, hang, and finish wallboards—minus the rookie mistakes.

Start with Perfect Wallboard Preparation
The foundation of a smooth wallboard project begins before you even touch the first panel. Wallboard preparation is all about creating a clean, even surface.
First, remove any old coverings, nails, or debris. Uneven walls can cause visible gaps, so use a level to check for dips or bulges. Fill minor imperfections with joint compound, then sand them smooth. For larger irregularities, furring strips can help create a perfectly level surface.
Also, consider the environment. Humidity and temperature fluctuations can affect wall panel installation, especially wood-based boards. Allow your boards to acclimate indoors for 48 hours before installation. This step prevents warping and ensures a snug fit.
Measure Twice, Cut Once—The Art of Accuracy
Precision is your wallboard when it comes to wallboard cutting and measuring. Even a small error can throw off the entire alignment.
Use a steel tape measure and mark cuts with a carpenter’s pencil for accuracy. A sharp utility knife or a fine-tooth saw works best for clean edges. Remember to measure from the same point each time to avoid inconsistencies. If you’re dealing with outlets, switches, or windows, create templates out of cardboard before cutting into the panel.
A pro tip: Label each panel and its intended position. This makes wallboard hanging techniques faster and eliminates the guesswork during installation.
Choosing the Right Wall Board Installation Tools
Your project’s success depends heavily on the tools you use. For professional-grade results, you’ll need:
- A utility knife or fine-tooth panel saw
- A T-square or straight edge
- A drill or screwdriver
- Adhesive spreader and caulking gun
- Level and measuring tape
- Sanding block or pole sander
If you want a complete list of expert-recommended tools, check out the Wall Board Services page for more insight into high-quality products that make the job easier.
Wall Board Adhesive Application: The Right Way
Using screws or nails alone can lead to loose panels over time. That’s why wallboard adhesive application is crucial. Apply adhesive in an even zigzag pattern along studs, then press the panel firmly into place.
Avoid over-applying—it can ooze at the seams and make the finishing messy. For best results, combine adhesive with fasteners. This hybrid method gives both strength and flexibility, especially for high-traffic areas.
Mastering Wallboard Hanging Techniques
Here’s where things take shape. Start from the top corner of the wall and work your way across. Maintain consistent spacing between panels to allow for natural expansion.
Drive screws or nails just below the surface without breaking the paper layer (for drywall) or damaging the face (for decorative boards). Use a level to ensure straight placement with every panel. Professionals recommend staggering seams between rows for a more seamless look and stronger structure.
Seamless Finishing Tips for a Polished Look
Your project isn’t done until the seams are invisible and the surface is flawless. Wallboard finishing tips include:
- Taping seams with high-quality joint tape
- Applying multiple thin coats of joint compound rather than one thick coat
- Sanding between coats for a smooth, feathered finish
- Priming before painting to ensure even color absorption
If you’re installing textured boards, your finish might be as simple as sealing the surface for durability.
Common Mistakes to Avoid During Wallboard Installation
Even seasoned DIYers can run into trouble. Here are some common pitfalls to avoid:
- Rushing the wallboard preparation stage
- Skipping adhesive for heavy panels
- Cutting panels without measuring multiple times
- Forgetting to account for outlet and fixture placements
- Over-sanding, which can weaken the surface layer
For a deeper dive into selecting the correct type of wallboard for your project, read Types of Exterior Wallboard and Their Uses.
Final Thoughts
Wallboard installation may look straightforward, but achieving a professional finish requires patience, precision, and the right approach. You can transform any room with clean, seamless walls by investing time in preparation, using proper tools, and following best practices for cutting, adhesive application, and finishing.
Whether you’re working on a single accent wall or an entire renovation, these wallboard installation tips will help you avoid common mistakes and achieve results you’ll be proud of. Show off. And if you’d rather leave it to the experts, Specialized Drywall OJ Inc. offers top-notch services to handle every step with skill.
FAQs
Q1: How do I know which wallboard type is best for my project?
It depends on your location, budget, and desired finish. Weather-resistant boards are best for exterior projects, while interior spaces may use standard drywall or decorative panels.
Q2: Can I install wallboards without adhesive?
Yes, but adhesive combined with fasteners provides the strongest, most durable hold.
Q3: How long should wallboards acclimate before installation?
Typically, 48 hours in the installation environment prevents warping and ensures a snug fit.
Q4: What’s the easiest way to cut wallboards accurately?
Use a sharp utility knife for drywall or a fine-tooth saw for thicker materials, constantly measuring twice before cutting.
Q5: How do I hide wallboard seams completely?
Apply joint tape, use thin coats of compound, and sand between applications for a smooth, seamless look.
