Have you ever stared at a crack, dent or a hole in your Sheetrock walls and thought “Ugh, now what?”
It’s not just you. Every household experiences the occasional accident caused by kids having fun and furniture accidents, or simply general wear and tear. The positive side? Patching Sheetrock doesn’t have to be as difficult as it may sound. Utilizing the correct tools, method, and a bit of patience, you’ll be able to repair your walls and make them appear fresh and new without contacting experts.
This guide will walk you through everything, from tackling small nicks and scratches to tackling larger repairs using an drywall patch or Sheetrock patch kit. What if it gets excessive? Experts at Specialized Drywall OJ Inc. are here to help. Let’s go!
Understanding the Basics: What Is Sheetrock, Anyway?
Before you get started on fixing it, you need to be aware of the material you’re working on. Sheetrock, a of drywall created by a layer of gypsum that’s sandwiched between thick paper. It’s lightweight, inexpensive and simple to install materialand that’s the reason it’s found in every American homes.
But, it’s also susceptible to being damaged by the impact of bumps, water as well as shifting and deforming foundations.
This is why sheetrock repair is a crucial. If it’s patching a wall for one small hole or a bigger patch for repair of drywall The techniques are created to seamlessly blend the repairs to the wall.
Getting Prepared: Tools and Materials You’ll Need
There’s no need for a complete contractor’s kit to repair your walls. All you need are some essential tools. What you’ll need to have on hand:
- Drywall patch kit or Sheetrock patch kit.
- Joint compound (also referred to as “mud”).
- The knife is called Putty (small or large size).
- Sanding block, fine-grit sandpaper, or sanding block.
- Utility knife.
- Drywall Saw (for more extensive holes).
- Drywall tape (mesh or paper).
- Primer and paint.
- Safety equipment (gloves, goggles).
A quality Sheetrock patch kit will simplify your life, particularly if you’re new to DIY repair. If you need advice on choosing the best Sheetrock material, this article is a great way to break it down.
Patching Small Holes: Quick and Easy Fixes
If you’re faced with small scratches or nail holes, you’ll feel at ease. Repairing holes in drywall that are this small is a simple task that usually takes less than half an hour.
Step 1: Prep the Area
Clean the hole using a the dampness of a cloth and then light sand the rough areas. This ensures that the patch will be firmly stuck.
Step 2: Apply the Joint Compound
Make use of a small knife for spreading joint compound across the hole, squishing out the edges to create an even finish. When it is dry then sand lightly and repeat the process if needed.
Step 3: Prime and Paint
After smoothing, you are satisfied, apply primer, and then your wall color. Voila! Your drywall hole patch disappears like magic.
Fixing Medium-Sized Damage: Using a Drywall Patch
Have you got a doorknob gap or a more serious scratch? You’ll require a little effort, but you’ve made it.
Step 1: Square the Hole
Make use of an utility knife or drywall saw to make the hole a neat rectangle or square. This makes patching a lot more simple.
Step 2: Install the Patch
Make sure that the patch you choose is sized to fit your opening. Adhesive mesh patches are suitable for smaller projects, whereas larger ones will require the use of a drywall piece attached to a wooden backer within the wall.
Step 3: Mud, Sand, and Repeat
Apply an application of joint compound and then cover the seams with drywall tape and add more compound. Sand between coats to achieve the seamless finish.
Do you need a backup plan? Specialized Drywall OJ Inc. can assist when DIY becomes too much.
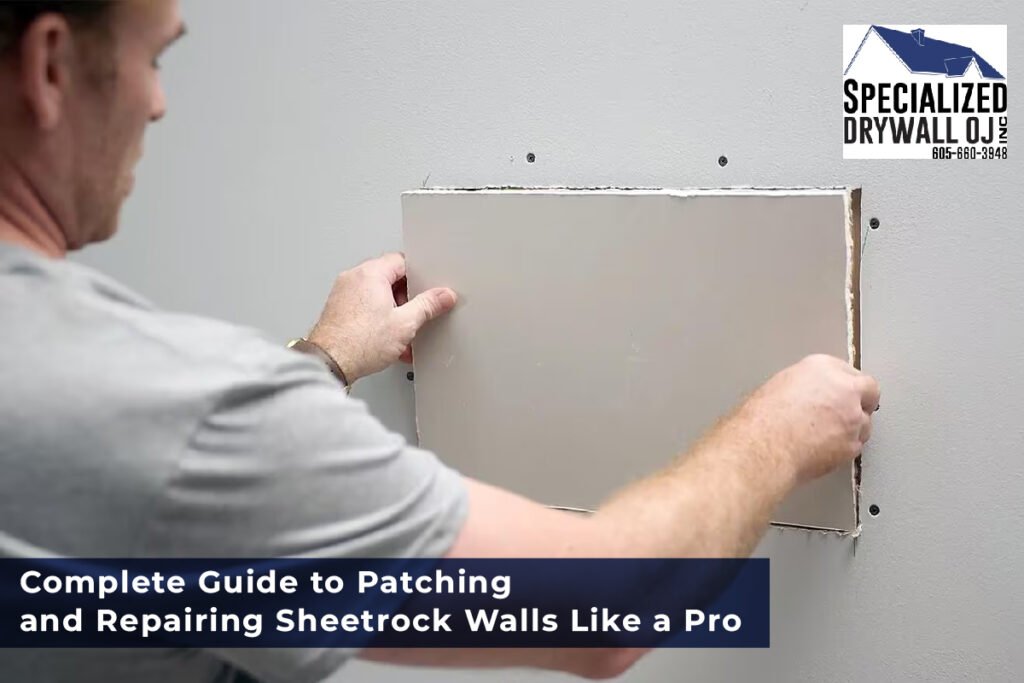
Large Hole Repairs: Patching Sheetrock Like a Pro
If you’re dealing a large damage (think larger than six inches) You’ll need to make use of a real wood drywall piece, not just mesh patches.
Step 1: Cut and Brace
Remove the damaged area carefully and then place the wood bracing on the wall to attach your new sheetrock onto.
Step 2: Secure the New Sheetrock
Make a drywall piece to the size you want and then attach it to the bracing. Apply drywall tape along the seams. Apply joint compound in thin layers.
Step 3: Sand Smooth and Paint
A light sanding process between each layer of compound guarantees a perfect appearance. Paint and prime once all feels perfect.
Larger repairs could require a couple of days because of drying times but I promise youthe end result will be worth the effort.
Tips for an Invisible Sheetrock Repair
To make your repairs to Sheetrock disappear requires a bit of finesse. Here are some tips from the pros:
- Feather Your Edges: The joint material you are using is further than you believe. A large feather can help to blend in with the wall in a natural way.
- Do not sand between coats: hurry it. A gentle sanding following every coat helps keep it looking professional.
- Prime before Painting: Skipping the primer could lead to the appearance of a “flashing” effect where patches are visible. Always prime first!
Follow these steps, and nobody will be able to pinpoint the source of the damage.
The Choice between DIY vs. Hiring a Pro
Should you attempt the repair of the hole in your sheetrock yourself or enlist help?
DIY Repair:
Ideal for tiny patches, cracks, and easy cosmetic repairs. If you’ve got a spare afternoon and a few basic tools, you’re set to go.
Professional Help:
For more extensive holes, water damage or frequent cracks Calling a professional like Specialized Drywall OJ Inc. will help you save time, effort and cash in the end.
A tip to remember: Always compare the price of your time and the materials to the Sheetrock repair costs paid by professionals. You might be pleasantly surprised!
Final Thoughts: Get Your Walls Back to Flawless Today!
Sheetrock repair may seem difficult initially however, when you follow the correct approachwith this guide at your side, you’ll be able to have those cracks, holes, or scratches repaired in no time. If you’re looking for an easy wall patch or a complete sheetrock repair, smooth, perfect walls can be achieved in a matter of minutes.
If you decide in the middle that you’d prefer to get a professional to finish the task, keep in mind the fact that Specialized Drywall OJ Inc. is only a phone call away and waiting to help make your home look beautiful again!
FAQs About Patching and Repairing Sheetrock
Q: What will it take to repair a hole in drywall?
A Small hole can be filled in less than an hour. More extensive repairs can take a couple of days, taking into consideration drying time between coats.
Q: What’s the most effective patch for holes in drywall?
A: Mesh patches with adhesive work well for holes that are small or medium and drywall pieces cut to size are best suited for larger openings.
Q: Should I apply paint over a tiny gap?
A: Technically, yes; however, it will not look great. Make sure to fill the hole with joint compound to ensure a smooth, professional look.
Q: What is the cause of sheets of Sheetrock to crack?
A: Setting foundations, changes in temperature, or moisture issues could cause cracks. Proper patching techniques can help avoid cracks from re-forming.
Q: How much will professional Sheetrock repair cost?
A: Prices can vary. However, the most basic repairs generally cost between $100 and $300. More extensive damage can cost more, based on the materials and labor requirements.