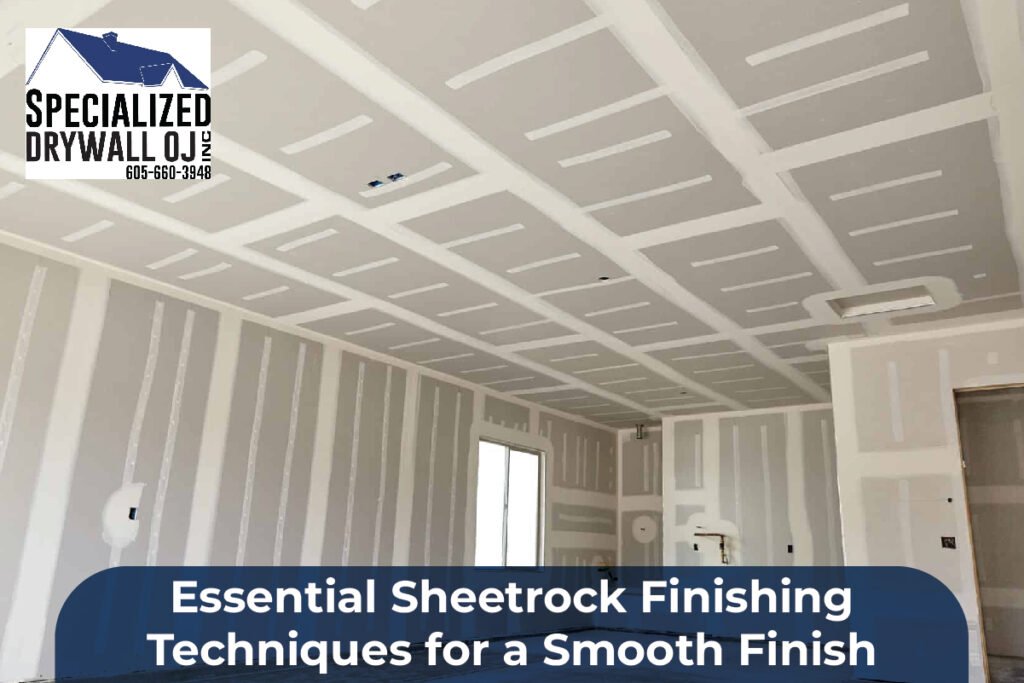
If you’ve ever walked into a room and admired its perfectly smooth walls, you’ve seen the magic of proper Sheetrock finishing techniques. Whether remodeling a single room or tackling an entire home renovation, achieving a flawless, smooth Sheetrock finish takes more than slapping on some mud and calling it a day. It’s a combination of skill, patience, and the right tools.
In this guide, we’ll walk you through the step-by-step process—from taping and mudding to sanding and texturing—so you can avoid common mistakes and create walls that look as good as a professional did them. And if you ever want the job done right the first time, our friends at Specialized Drywall OJ Inc. have mastered Sheetrock surface finishing.
Get the Right Tools Before You Start
Before diving into drywall taping and finishing, you’ll need a few essential tools:
- Joint knives (6″, 10″, and 12″) are used to spread the joint compound for Sheetrock evenly.
- A drywall mud pan for mixing and holding compound.
- Taping tools for clean and even seams.
- A sanding pole or block for the final smooth touch.
Why start here? Because having the right tools makes the difference between a lumpy wall and a seamless one. Many beginners think they can “make do” with whatever is lying around—but a pro-level Sheetrock mud finishing job needs precision, and that starts with using the right equipment.
Step 1: Proper Drywall Taping—The Foundation of Smooth Walls
The first and most crucial part of Sheetrock finishing is taping. Without strong, clean seams, your walls will crack over time.
Start by applying a thin layer of joint compound over the seam using a 6-inch knife. Then, embed the drywall tape into the mud and smooth it out to remove bubbles. Paper tape is preferred for strength, but fiberglass mesh tape is quicker and easier for beginners.
The key is consistency. Avoid piling on too much mud at this stage; a thin layer ensures the subsequent coats blend seamlessly. If you need a pro’s precision, this detailed guide on smooth Sheetrock repairs offers step-by-step tips.
Step 2: Applying the First Coat of Mud
Once your tape is in place and dry, it’s time to finish the first coat of Sheetrock mud. This is where you’ll start feathering the compound outward from the seams to hide them completely.
Apply with a 10-inch knife, keeping the edges thin so they blend into the Sheetrock texture naturally. This first coat is all about coverage—not perfection. Don’t stress over minor imperfections; they’ll be addressed later.
Let it dry completely before moving to the next step. Rushing here is one of the most common mistakes in DIY Sheetrock finish projects.
Step 3: The Second and Third Coats—Where Perfection Happens
The second coat is applied wider than the first, using a 12-inch knife to smooth everything out. This is your chance to hide any ridges or marks left behind.
For the third coat, think of it as the polish layer. Use the same wide knife, but make the wall look as seamless as possible. Every knife pass should be deliberate, using light pressure to avoid pulling off the compound you’ve already applied.
Remember, three thin coats will always beat one thick coat when achieving a smooth Sheetrock finish.
Step 4: Sanding—The Art of Subtlety
Sheetrock sanding is the most underrated part of the process, but it’s where walls truly become flawless. Start with medium-grit sandpaper, then finish with fine-grit grit for a silky feel.
Always sand in a circular motion and avoid pressing too hard—you’re smoothing, not gouging. Use a bright light to check for imperfections. Even seasoned pros miss spots until they shine a light across the surface.
Use a sanding sponge or a dust-free sander if dust is a concern. Clean the surface thoroughly before priming.
Step 5: Adding Texture (Optional but Stylish)
While many homeowners prefer a smooth Sheetrock finish, adding a subtle texture can enhance a room’s personality and hide tiny imperfections. Popular styles include orange peel, knockdown, and skip trowel.
Depending on your desired look, texture can be applied with spray equipment or by hand. Remember—once texture is used, it’s much harder to return to smooth. So, decide early in the project which style fits your vision.
Step 6: Priming and Painting
After the final sanding, your walls are ready for primer. This step seals the Sheetrock surface finishing and ensures your paint adheres evenly.
Choose a high-quality drywall primer and apply with a roller in even strokes. Once dry, you can paint your walls in any color you choose. The smoothness achieved through careful Sheetrock finishing techniques will make your paint job stand out.
Why Hiring a Professional Is Worth It
While DIY is satisfying, achieving a perfect drywall finish takes time, skill, and patience. Professionals bring years of experience, advanced tools, and techniques that guarantee a flawless outcome.
If you’re looking for expert results without the hassle, Specialized Drywall OJ Inc. offers comprehensive Sheetrock finish services that save you time and deliver stunning walls you’ll love.
Final Thoughts
Sheetrock finishing is an art form that blends craftsmanship with attention to detail. Each step builds toward that professional-level smoothness, from drywall taping and finishing to Sheetrock sanding and texturing. Whether you take the DIY route or hire a pro, remember that the key lies in patience, precision, and proper technique.
If you’re ready for a flawless finish without the trial and error, the specialists at Specialized Drywall OJ Inc. are here to help you bring your vision to life.
FAQs
Q1: How long does it take to finish Sheetrock?
It usually takes 3–5 days, allowing for drying time between coats of joint compound for Sheetrock.
Q2: Can I paint directly over Sheetrock without primer?
No. Primer is essential for sealing the surface and ensuring even paint coverage.
Q3: What’s the difference between Sheetrock and drywall?
Sheetrock is a brand name for drywall, but both are essentially the same material.
Q4: How do I avoid bubbles when taping drywall?
Press the tape firmly into a thin compound layer and immediately smooth out all air pockets.
Q5: Is sanding always necessary?
Yes, sanding ensures a flawless surface, even with the best Sheetrock mud finishing.