When building a new home or commercial property, one of the most important finishing steps is installing wallboard. Whether you call it wallboard, drywall, Sheetrock, or gypsum board, this material gives your walls and ceilings a clean, polished look. Done right, wallboard installation not only improves the appearance of your space but also adds structural integrity, soundproofing, and fire resistance.
Many homeowners are tempted to tackle drywall installation themselves, while others prefer leaving it to professional wallboard installers. Either way, understanding the process is essential. This guide will walk you through the entire journey—from prepping the framing to sanding the final coat—so you know exactly what goes into interior wallboard installation in new constructions.
Why Wallboard Matters in Every Construction Project
A wallboard is more than just a covering for studs and insulation. It plays a vital role in creating smooth, durable surfaces for painting, tiling, or wallpapering. Without proper drywall installation, you risk uneven walls, cracks, or issues with energy efficiency.
There are different types of wallboard used in construction, including standard gypsum board for most living areas, moisture-resistant boards for bathrooms, and fire-rated boards for garages or utility rooms. Residential wallboard installation often focuses on comfort and appearance, while commercial wallboard installation must also meet building codes and fire safety standards.
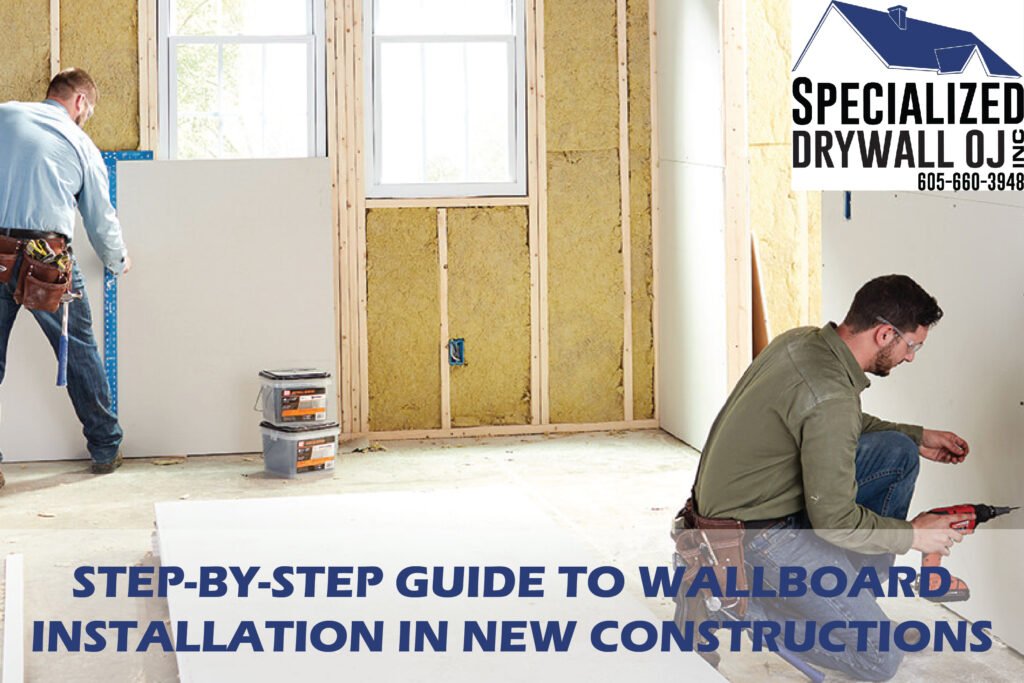
Preparing the Space for Wallboard Installation
Before jumping into sheetrock installation, preparation is key. Start by ensuring that your framing is straight, square, and properly aligned. Any bowed studs or uneven surfaces will cause problems later when hanging the boards.
Next, check that all electrical wiring, plumbing, and insulation are installed. Once the wallboard goes up, making changes becomes much more complicated. This is also the time to double-check outlet boxes and ensure they’re flush with the wall depth. Skipping these steps can cost you both time and money.
Choosing the Right Type of Wallboard
Not all wallboards are created equal. Here are the most common types you’ll encounter in interior wallboard installation:
- Standard Gypsum Board – Ideal for most living spaces.
- Moisture-Resistant Board – Perfect for kitchens, bathrooms, or laundry rooms.
- Fire-Resistant Board – Often required in garages or between living spaces and attached garages.
- Soundproof Wallboard – A good option for media rooms or offices.
Professional wallboard contractors can help you choose the right type based on your project. You can also check resources like Specialized Drywall OJ Inc. for professional wallboard services tailored to both residential and commercial needs.
Step 1: Measuring and Cutting the Wallboard
Start by measuring your wall height and cutting the sheetrock to fit. A T-square and utility knife are your best tools for this job. Scoring the gypsum board and snapping it along the line creates a clean edge. Always cut pieces slightly smaller than the opening to prevent forced fitting.
For ceilings, measure carefully to avoid gaps. Ceiling installation typically comes first since it helps support the walls and provides a cleaner finish. Using a drywall lift can make this step much easier, especially for larger boards.
Step 2: Hanging the Wallboard
Once your boards are cut, it’s time to hang them. Begin with the ceiling and then move to the walls. Secure the boards to studs using drywall screws, spacing them about 16 inches apart.
Keep the screws slightly below the surface without tearing the paper layer. This prevents popped screws later on. If you’re unsure how to fix nail pops, you can refer to this detailed guide from Norton Abrasives.
Step 3: Taping the Joints
Taping is one of the most crucial steps in drywall installation. Apply joint tape over seams and corners to create a smooth, continuous surface. Paper tape is durable, but self-adhesive mesh tape can be easier for beginners.
Once the tape is applied, cover it with joint compound using a taping knife. Feather the edges to make blending easier during sanding. Proper taping prevents cracks and gives your walls a professional finish.
Step 4: Applying Multiple Coats of Joint Compound
Wallboard services typically include applying two to three coats of joint compound. The first coat covers the tape, the second smooths out imperfections, and the final coat ensures a flawless finish.
Allow each coat to dry completely before adding the next. Rushing this process can lead to bubbling or uneven surfaces. This step takes patience but makes all the difference between a DIY-looking job and one completed by professional wallboard installers.
Step 5: Sanding and Finishing Touches
Once the joint compound is dry, it’s time to sand. Use fine-grit sandpaper to smooth out seams and eliminate ridges. Keep a light hand—over-sanding can damage the surface and expose tape.
After sanding, inspect the walls under good lighting to catch any flaws. A primer coat before painting helps seal the surface and makes the finish more durable. For an in-depth breakdown, check out this comprehensive drywall guide.
When to Hire Professional Wallboard Contractors
While DIY sheetrock installation is possible, large-scale projects are best handled by experienced wallboard contractors. Professionals bring specialized tools, efficiency, and years of expertise. They can also handle complex jobs like curved walls, vaulted ceilings, or commercial wallboard installation where safety standards are stricter.
If you want hassle-free results, companies offering wallboard services can save you time and ensure a polished, long-lasting finish.
Final Thoughts
Wallboard installation is one of the final steps in new construction, and it sets the stage for everything that comes after—painting, decorating, or installing fixtures. Whether you’re handling residential wallboard installation in your new home or overseeing commercial wallboard installation in a larger project, following the right steps makes all the difference.
If you’re new to drywall work, take your time and don’t cut corners. And when in doubt, hiring professional wallboard installers is the best way to guarantee long-term durability and beauty.
FAQs About Wallboard Installation
1. What’s the difference between drywall and wallboard?
They’re essentially the same—wallboard, drywall, gypsum board, and Sheetrock are often used interchangeably.
2. How long does wallboard installation take?
For a standard home, it can take 3–5 days, including taping, mudding, and sanding.
3. Can I install drywall myself?
Yes, but large or complex projects are better left to professional wallboard contractors.
4. How much does residential wallboard installation cost?
Costs vary depending on square footage, board type, and labor rates in your area.
5. Is commercial wallboard installation different?
Yes. Commercial projects often require fire-rated boards, acoustic solutions, and stricter code compliance.