Drywall may look simple once installed, but behind smooth walls lies a process that requires precision, experience, and proper materials. Many homeowners attempt drywall installation or repairs themselves to save money—only to discover later that small drywall mistakes can lead to thousands of dollars in repairs.
From visible cracks and nail pops to hidden moisture damage and structural issues, drywall errors often worsen over time. What starts as a minor imperfection can turn into extensive wall replacement, repainting, or even mold remediation.
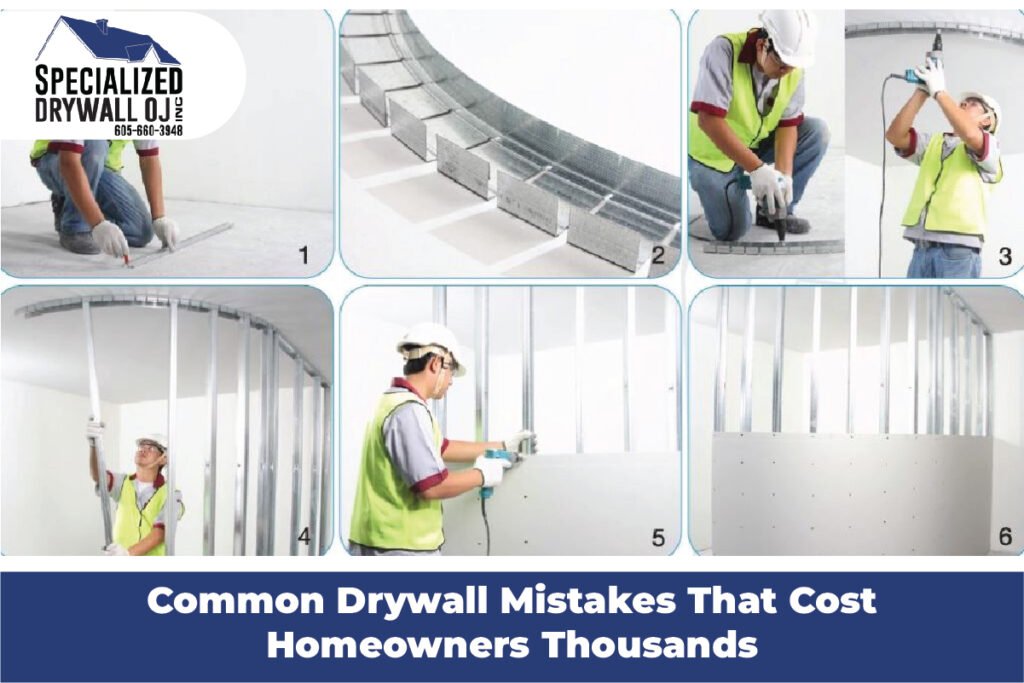
In this guide, we’ll break down the most common drywall mistakes, explain why they happen, show how much they really cost, and share how professionals avoid them altogether.
Why Drywall Mistakes Cost Homeowners So Much
Drywall issues rarely stay cosmetic. When installed incorrectly, drywall can:
- Compromise wall strength
- Reduce fire resistance
- Allow moisture infiltration
- Lower sound insulation
- Decrease home resale value.
Fixing these problems usually requires removing sections of drywall, reinstalling panels, retaping joints, sanding, repainting, and sometimes addressing hidden damage behind the walls.
Mistake #1: Poor Planning and Incorrect Drywall Layout
What Goes Wrong
One of the most common drywall installation mistakes is failing to plan panel layout properly. This includes:
- Misaligned seams
- Joints landing near door or window corners
- Uneven panel placement
Why It’s Costly
Poor layout creates weak points that crack over time. Seams placed incorrectly are more visible and harder to hide with joint compound.
Cost impact:
- Additional materials
- Extra labor for re-taping and sanding
- Visible defects after painting
How Professionals Avoid It
Professional drywall contractors carefully plan panel placement so seams fall on studs and away from stress points, ensuring durability and a smooth finish.
Mistake #2: Incorrect Screw Spacing and Fastening Errors
What Goes Wrong
Homeowners often:
- Use too few screws
- Space screws are too far apart.
- Overdrive screws, breaking the drywall paper
Why It’s Expensive
Improper fastening leads to:
- Nail pops
- Loose panels
- Cracks forming months later
Cost impact:
- Patch repairs
- Repainting entire walls
- Structural weakening over time
Professionals follow strict screw spacing guidelines to keep drywall secure without damaging the surface.
Mistake #3: Improper Joint Taping and Mudding
What Goes Wrong
Joint taping is one of the most difficult drywall steps. Common errors include:
- Using too much or too little compound
- Not embedding tape properly
- Applying uneven layers
Why DIY Taping Fails
Joint compound must be applied in thin, even layers and allowed to dry fully between coats. Rushing this process causes:
- Bubbling tape
- Visible seams
- Cracking after paint
Cost Consequences
Fixing bad taping requires scraping, re-mudding, sanding, and repainting—often costing more than hiring a professional initially.
Mistake #4: Skipping or Rushing the Sanding Process
What Goes Wrong
Many DIYers underestimate sanding. Skipping steps leads to:
- Rough wall textures
- Visible ridges under lighting
- Uneven paint finish
Why It Costs More Later
Paint magnifies imperfections. Once walls are painted, flaws become even more noticeable, often requiring:
- Full re-sanding
- Primer and repainting
- Additional labor costs
Professional drywall finishing ensures walls are smooth before any paint is applied.
Mistake #5: Ignoring Moisture and Mold Risks
What Goes Wrong
Using standard drywall in moisture-prone areas like bathrooms, kitchens, or basements is a major mistake.
Long-Term Damage
Moisture infiltration can cause:
- Mold growth
- Drywall swelling
- Structural rot behind walls
Cost Impact
Mold remediation and drywall replacement can cost thousands of dollars, especially if damage spreads.
Professionals install moisture-resistant drywall and use proper sealing methods in high-humidity areas.
Mistake #6: Poor Corner Bead Installation
What Goes Wrong
Corner beads protect drywall edges, but mistakes include:
- Incorrect alignment
- Insufficient fastening
- Uneven compound application
Why It’s Costly
Damaged corners crack easily and are highly visible. Repairs often require:
- Removing the old bead
- Reinstalling new materials
- Refinishing entire sections
Professionals ensure crisp, durable corners that last for years.
Mistake #7: Painting Before Drywall Is Fully Finished
What Goes Wrong
Applying paint before drywall is properly sanded and primed results in:
- Visible seams
- Uneven texture
- Highlighted imperfections
Cost Consequences
This mistake leads to:
- Repainting costs
- Additional sanding and patching
- Wasted paint and materials
Professional drywall services include proper finishing and priming before any paint is applied.
Bonus Mistake: Ignoring Fire and Sound Performance Requirements
What Goes Wrong
Modern building codes often require fire-rated drywall and sound-control solutions. Skipping these can lead to:
- Code violations
- Reduced fire safety
- Poor noise control
Why It Matters
Improper drywall installation can affect:
- Home safety
- Insurance compliance
- Property value
Professional contractors select the right gypsum boards for fire resistance and soundproofing.
How Much Do Drywall Mistakes Really Cost?
Here’s a realistic breakdown:
- Minor drywall patch repairs: $150–$400
- Re-taping and sanding walls: $500–$1,500
- Moisture- or mold-damaged drywall replacement: $2,000–$5,000+
- Full drywall reinstallation: $5,000–$10,000+
Preventing mistakes is far more affordable than fixing them.
How to Avoid Costly Drywall Mistakes
The best way to avoid expensive drywall problems is to:
- Plan layouts carefully
- Use correct materials
- Follow proper installation standards.
- Hire experienced drywall professionals.
Professional drywall contractors bring the tools, techniques, and experience needed to get the job done right the first time.
Final Thoughts
Drywall mistakes don’t just affect appearance—they impact safety, durability, and home value. What seems like a small error today can become a major expense tomorrow. Investing in professional drywall installation or repair ensures smooth, long-lasting results and protects your home from costly damage.
FAQs
Ans: Drywall mistakes can cost anywhere from a few hundred dollars for minor repairs to several thousand dollars for major reinstallation or mold remediation.
Ans: Improper joint taping and mudding are among the most common and costly drywall mistakes homeowners make.
Ans: Minor issues can be repaired, but structural defects, moisture intrusion, or extensive finishing errors often require partial or full drywall replacement.
Ans: Yes. Paint highlights imperfections, making poor drywall work more visible after completion.
Ans: If the project involves large areas, moisture-prone spaces, fire-rated drywall, or detailed finishing, hiring a professional is the safest and most cost-effective option.