Drywall installation is one of the most critical stages in residential and commercial construction. It forms the walls and ceilings we see every day, supports paint and finishes, contributes to fire resistance and sound control, and plays a major role in a building’s overall durability.
While many guides focus only on hanging drywall sheets, the complete drywall installation process involves careful planning, precise execution, and detailed finishing work. Skipping steps or rushing the process can lead to visible seams, cracks, nail pops, and costly repairs down the road.
In this guide, we’ll walk through the entire drywall installation process step by step, explaining how professionals approach each phase and why every step matters for achieving smooth, long-lasting results.
What Is Drywall and Why Proper Installation Matters
Drywall—also known as sheetrock or gypsum board—is a panel made of a gypsum core covered with durable paper facings. It is widely used because it is:
- Cost-effective
- Fire-resistant
- Easy to finish and repair
- Suitable for walls and ceilings
However, drywall only performs well when installed correctly. Improper installation can result in:
- Cracks and joint separation
- Uneven walls and ceilings
- Reduced fire and sound performance
- Visible imperfections after painting
That’s why understanding the full drywall installation process is essential.
Tools and Materials Used in Drywall Installation
Before installation begins, professionals gather the right tools and materials.
Common Tools
- Utility knife and drywall saw
- T-square and measuring tape
- Drill or drywall screw gun
- Drywall lift (for ceilings)
- Sanding blocks or pole sander
Materials
- Drywall sheets (various sizes and thicknesses)
- Drywall screws
- Joint tape (paper or fiberglass)
- Joint compound (mud)
- Corner beads
- Primer and paint
Having the correct tools ensures efficiency, accuracy, and a higher-quality finish.
Step 1: Planning and Measuring
Every successful drywall project starts with careful planning.
Key Planning Tasks
- Measure wall and ceiling dimensions
- Calculate the number of drywall sheets required.
- Plan panel layout to minimize seams
- Identify stud locations and mark them clearly.
Professionals aim to:
- Reduce waste
- Avoid small filler pieces.
- Align seams away from high-visibility areas.
This step sets the foundation for a smooth installation process.
Step 2: Preparing the Framing
Before drywall is hung, the framing must be inspected and prepared.
What Professionals Check
- Stud spacing (typically 16 or 24 inches on center)
- Studs are plumb, straight, and secure.
- Blocking is added where needed for cabinets or fixtures.
- Electrical and plumbing rough-ins are complete.
Any framing issues should be corrected before drywall installation begins, as the drywall will reflect imperfections beneath it.
Step 3: Cutting Drywall Sheets
Once measurements are confirmed, drywall sheets are cut to size.
Cutting Process
- Measure and mark the drywall panel
- Score the front paper using a utility knife.
- Snap the panel along the score line.
- Cut the backing paper.
Openings for:
- Electrical outlets
- Light fixtures
- Windows and doors
are carefully measured and cut to ensure a tight, clean fit.
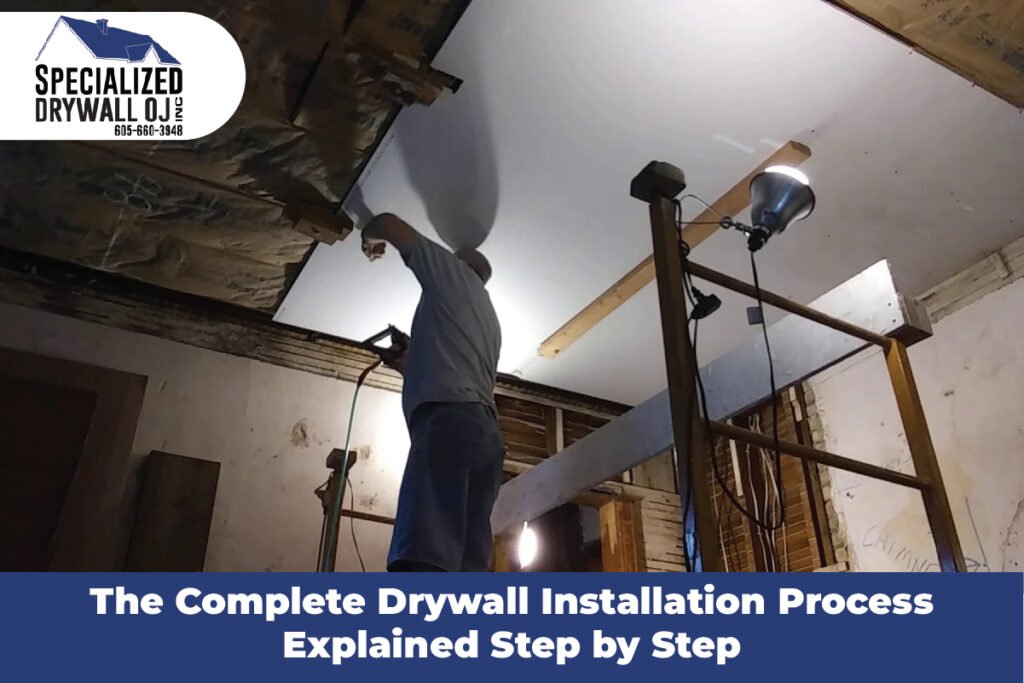
Step 4: Hanging Drywall (Ceilings First)
Professional drywall installers always start with ceilings.
Why Ceilings Come First
- Wall panels help support ceiling edges
- Prevents sagging and visible gaps
Ceiling Installation Tips
- Use a drywall lift or multiple installers.
- Secure panels perpendicular to ceiling joists
- Space screws evenly (usually every 12 inches)
Ceiling drywall requires precision and safety awareness due to the panels’ weight.
Step 5: Hanging Drywall on Walls
Once ceilings are complete, wall installation begins.
Wall Installation Process
- Start from the top and work downward
- Position panels horizontally for fewer seams
- Leave a small gap at the floor for expansion.
Panels are aligned carefully to ensure tight joints and straight edges.
Step 6: Fastening and Securing Panels
Proper fastening is critical to drywall performance.
Best Practices
- Screws should be slightly recessed without tearing the paper
- Screws are spaced evenly along studs.
- Avoid overdriving screws
Improper fastening can cause nail pops, loose panels, and visible defects after finishing.
Step 7: Taping and Joint Compound (Mudding)
This is where drywall begins to resemble a finished wall.
The Taping Process
- Joint tape is applied over seams
- Inside and outside corners are reinforced.
- Corner beads are installed for durability.
Applying Joint Compound
- First coat embeds the tape.
- Second and third coats smooth and feather seams
- Each coat must dry completely before the next is applied.
Professional finishing is what separates amateur drywall work from high-quality results.
Step 8: Sanding and Final Finishing
After the joint compound dries, sanding begins.
Sanding Process
- Light sanding to smooth seams
- Focus on feathered edges.
- Avoid over-sanding
The goal is to create a perfectly smooth surface that disappears once painted.
Step 9: Quality Checks and Cleanup
Before painting, professionals perform a final inspection.
Final Checks Include
- Inspecting seams under proper lighting
- Checking corners and screw heads
- Touching up imperfections
The workspace is cleaned, and surfaces are prepared for primer and paint.
Common Drywall Installation Mistakes to Avoid
Many issues arise when steps are skipped or rushed.
Common Errors
- Poor layout planning
- Incorrect screw spacing
- Rushed taping and mudding
- Skipping drying time
Professional drywall installers avoid these mistakes through experience and proven techniques.
DIY vs Professional Drywall Installation
While small repairs can be DIY-friendly, full drywall installation is often best left to professionals.
DIY Challenges
- Heavy lifting
- Precise finishing
- Time-consuming process
- Visible mistakes
Benefits of Professional Installation
- Faster completion
- Cleaner, smoother finish
- Long-lasting durability
- Compliance with building standards
Conclusion
The drywall installation process is far more than simply attaching panels to studs. From planning and framing preparation to finishing and inspection, every step plays a critical role in the final appearance and performance of your walls and ceilings.
Understanding the complete drywall installation process step by step helps homeowners and property managers appreciate the value of professional artistry—and why quality drywall installation is an investment in your property’s long-term value.
If you want flawless results, proper installation, and peace of mind, working with experienced drywall professionals makes all the difference.
FAQs
Ans: Most residential projects take a few days, depending on size, drying time, and finishing requirements.
Ans: Professionals typically install drywall horizontally on walls to minimize seams and improve structural integrity.
Ans: Uneven framing should be corrected first, as drywall will reflect underlying issues.
Ans: Most drywall installations require at least three coats for a smooth finish.
Ans: Yes. Professional installation ensures durability, smooth finishes, and fewer long-term repairs.