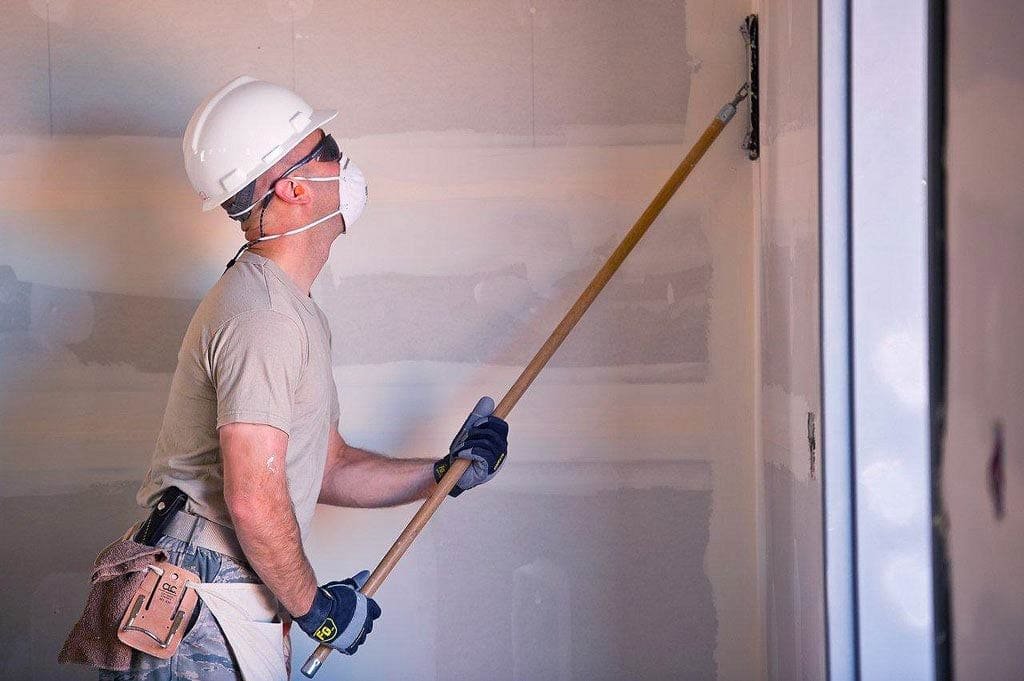
So, you’re gearing up to wallpaper your gypsum board, huh? Smart move! To get that wallpaper looking sleek, you want your surface prepped just right. Let’s talk prep. Specialized Drywall OJ INC suggests starting with a clean slate—literally. Give your gypsum board a once-over, make sure it’s smooth and free of any bumps or blemishes. If you spot any imperfections, now’s the time to sand them down. Once you’ve got a smooth canvas, it’s priming time. A good primer will help that wallpaper stick like glue (literally). Ready to roll? Let’s get prepping!
Understanding Gypsum Board
Alright, let’s start with the basics. Gypsum board, also known as drywall, sheetrock, or plasterboard, is a common building material used for constructing interior walls and ceilings. It’s composed of gypsum plaster sandwiched between layers of paper, providing a smooth and durable surface.
Why Prep matters
Preparation is crucial before wallpapering as it ensures a smooth and durable surface, enhancing the overall appearance and longevity of the wallpaper. Gypsum Board Installation Services, such as those offered by specialized contractors, emphasize the importance of proper preparation to achieve optimal results. From smoothing out imperfections to priming the surface, thorough preparation ensures that the wallpaper adheres securely and looks its best for years to come.
Now, you might be tempted to dive straight into wallpapering, but trust me, taking the time to properly prepare your gypsum board will save you headaches down the road. Think of it like laying the foundation for a house—you want it solid and level to ensure everything else goes smoothly.
Gather Your Supplies
Before we get into the nitty-gritty, let’s round up the essentials:
Sandpaper:
You’ll need medium to fine-grit sandpaper to smooth out any imperfections.
Tack Cloth or Damp Cloth:
For wiping down the surface and removing dust.
Primer:
A good quality primer will improve adhesion and help the wallpaper stick.
Paint Roller and Tray:
For applying the primer.
Painter’s Tape:
To protect edges and trim.
Utility Knife:
Handy for cutting wallpaper and trimming edges.
Wallpaper Adhesive:
Depending on the type of wallpaper you’re using.
Spackle or Joint Compound (Optional): For filling in any larger holes or gaps.
Step 1: Assess the Surface
When assessing the surface for wallpapering, it’s essential to recognize gypsum board as a quick and efficient building material. Gypsum board’s versatility and ease of installation make it a popular choice for interior construction projects. However, its smooth surface may require careful inspection for imperfections before wallpaper application. By recognizing gypsum board’s qualities and assessing its surface thoroughly, you can ensure a flawless finish that complements the efficiency of this building material.
Take a good look at your gypsum board. Are there any dents, dings, or bumps? Any rough patches or uneven areas? It’s crucial to address these imperfections before moving forward. Use your hands to feel for any irregularities and mark them for attention.
Step 2: Smooth It Out
Smoothing out the surface of the gypsum board is essential for achieving a flawless wallpaper application. Using medium to fine-grit sandpaper, gently sand any imperfections or rough spots on the surface until it feels smooth to the touch. This step ensures that the wallpaper adheres evenly and prevents any bumps or ridges from showing through. Take your time with this process to achieve a perfectly smooth canvas for your wallpapering project.
Now, grab your sandpaper and start smoothing out those imperfections. You want to create a uniform surface, so take your time with this step. Focus on areas where the gypsum board meets, as joints and seams can be tricky. Once you’re done sanding, wipe down the surface with a tack cloth or a damp cloth to remove any dust.
Step 3: Prime Time
Prime time is crucial in preparing gypsum board for wallpapering. Apply a high-quality primer evenly across the surface using a paint roller and tray. This step not only improves adhesion but also seals the surface, preventing the gypsum board from absorbing moisture from the wallpaper adhesive. Allow the primer to dry completely according to the manufacturer’s instructions before proceeding with wallpaper installation. Choosing the right primer sets the stage for a successful and long-lasting wallpapering project.
Here comes the fun part—priming! Pour some primer into your paint tray and grab your roller. Apply a thin, even coat of primer to the gypsum board, making sure to cover the entire surface. Priming not only improves adhesion but also seals the surface, preventing the gypsum board from absorbing moisture from the wallpaper adhesive.
Step 4: Let It Dry
After applying the primer, allow it to dry completely before proceeding with wallpaper installation. The drying time can vary depending on the type of primer used and environmental conditions. It’s essential to follow the manufacturer’s instructions for the specific primer you’ve chosen. Rushing this step can lead to poor adhesion and a less durable wallpaper finish. Patience is key here; ensure the primer is thoroughly dry before moving on to the next steps of your wallpapering project.
Patience is key here. Allow the primer to dry completely according to the manufacturer’s instructions. This usually takes a few hours, so take a break and grab a snack while you wait.
Step 5: Protect the Edges
Protecting the edges and trim of the gypsum board is essential to ensure a clean and professional-looking finish for your wallpaper. Use painter’s tape to carefully cover edges, corners, and any adjacent surfaces that you want to keep free from adhesive or paint. This step helps prevent accidental smudges or marks during the wallpapering process and ensures crisp lines and edges. Take your time with taping to achieve precise results and a polished final outcome for your wallpaper installation.
While you’re waiting for the primer to dry, take some painter’s tape and carefully apply it to the edges and trim of the gypsum board. This will protect them from any stray adhesive or paint during the wallpapering process.
Step 6: Optional Patching
Optional patching is recommended for larger holes or gaps in gypsum board before wallpapering. These imperfections can be filled with spackle or joint compound, ensuring a smooth surface for wallpaper application. While gypsum board is known for its strength, the maximum load gypsum board can bear varies depending on factors such as thickness and installation method. Generally, gypsum board can support loads ranging from 10 to 30 pounds per square foot, making it suitable for most residential and commercial applications.
If you’ve got any larger holes or gaps in your gypsum board, now’s the time to patch them up. Grab some spackle or joint compound and fill in the holes using a putty knife. Smooth out the surface and let it dry completely before sanding it down.
Step 7: Final Check
Once everything is dry, give the gypsum board a final once-over. Run your hands over the surface to make sure it’s smooth and free of any imperfections. If you spot any rough patches, sand them down until you’re satisfied with the result.
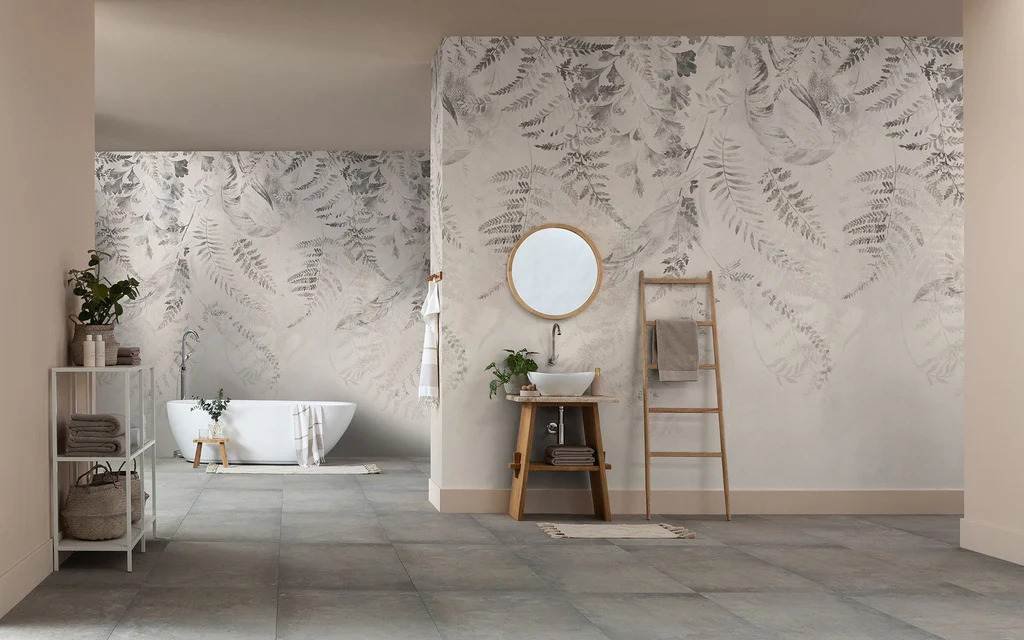
Step 8: Ready, Set, Wallpaper!
Congratulations, you’ve successfully prepped your gypsum board for wallpapering! Now it’s time for the main event. Follow the instructions that came with your wallpaper and get ready to transform your space. Whether you’re going for a bold statement or a subtle accent, your beautifully prepared gypsum board will provide the perfect canvas for your design dreams.
FAQs
How do you prep drywall for wallpaper?
To prep drywall for wallpaper, start by ensuring the surface is clean and smooth, sanding down any imperfections. Apply a primer specifically designed for wallpapering to improve adhesion and prevent the drywall from absorbing moisture from the wallpaper paste. Finally, protect edges and trim with painter’s tape before proceeding with wallpaper installation.
How to prepare plasterboard for wallpaper?
To prepare plasterboard for wallpaper, begin by ensuring the surface is clean and free from dust or debris. Apply a suitable primer to improve adhesion and create a smooth surface for the wallpaper to adhere to. Allow the primer to dry completely before proceeding with wallpaper installation, ensuring a flawless finish.
What primer to use before wallpapering?
For wallpapering, it’s essential to use a primer specifically designed for this purpose, such as a wallpaper primer or a universal acrylic primer. These primers help improve adhesion, create a smooth surface, and prevent the wallpaper paste from being absorbed into the wall material. Be sure to choose a primer that is compatible with both your wall surface and the type of wallpaper you’ll be using for optimal results.
What is the best drywall primer for wallpaper?
The best drywall primer for wallpaper is one specifically formulated for this purpose, such as Zinsser Bulls Eye 1-2-3 Water-Based Primer or Roman PRO-999 Rx-35 Drywall Repair Primer. These primers are designed to promote adhesion, seal the surface, and provide a smooth base for wallpaper application. Be sure to follow the manufacturer’s instructions for proper application and drying times to achieve the best results.
Can I use paint primer for wallpaper?
While it’s possible to use paint primer for wallpapering, it’s generally not recommended. Paint primers may not provide the same level of adhesion and sealing properties as primers specifically formulated for wallpaper. Using a dedicated wallpaper primer ensures better results, including improved adhesion, smoother application, and enhanced durability of the wallpaper.
Conclusion
In conclusion, preparing gypsum board for wallpapering is a crucial step in achieving a flawless and long-lasting result. By meticulously sanding imperfections, applying a quality primer, and protecting edges, you set the stage for a successful wallpaper installation. While the process may require time and patience, the end result is well worth it, offering a beautiful and durable backdrop for your space’s transformation. So, roll up your sleeves, follow these steps, and get ready to enjoy the stunning transformation of your walls with confidence and style.
Prepping the gypsum board for wallpapering may seem like a tedious task, but trust me, it’s well worth the effort. By taking the time to smooth out imperfections, prime the surface, and protect the edges, you’ll ensure a seamless and long-lasting wallpaper installation. So go ahead, unleash your creativity, and let your walls do the talking!